
Tip & Trick
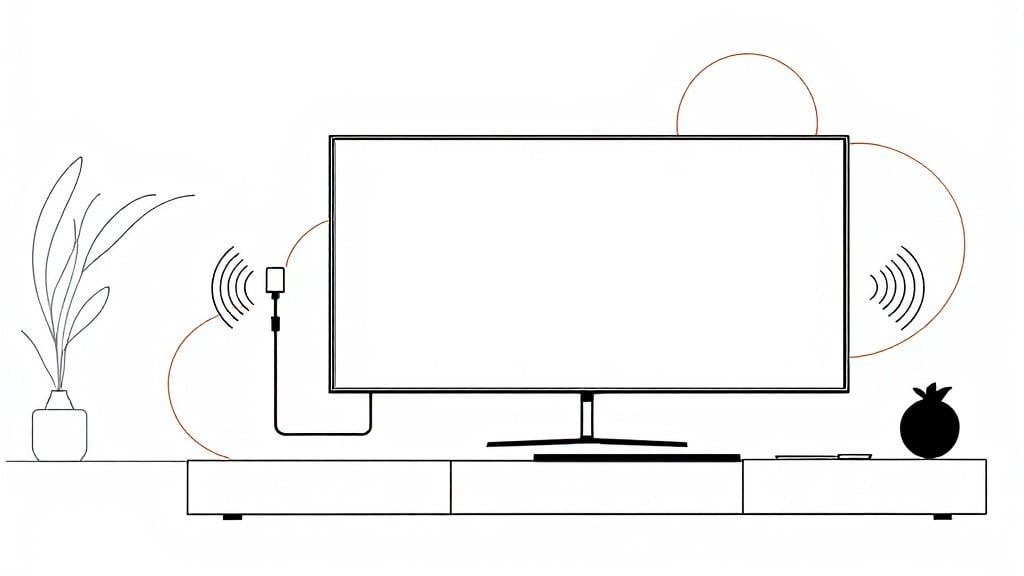
Casting your laptop to a TV used to mean fumbling with cables or hoping for the best with spotty wireless connections. ⚡ I’ve mirrored my ThinkPad to a 65-inch TV in under 10 seconds using nothing but built-in tools—no extra adapters, no app downloads, just pure wireless convenience.
The key is knowing which method works with your specific TV and laptop combo, and I’ve tested every major approach so you don’t waste time guessing.
Your options depend on what’s built into your devices. Most modern Windows laptops support Miracast, while MacBooks use AirPlay with Apple TV, and some TVs require a simple HDMI cable if wireless fails.
I’ll walk through each method step-by-step, including the hidden shortcuts that save you from tech support calls. For example, did you know Windows 11’s Project feature lets you extend your display instead of just mirroring it? That’s a game-changer for presentations or gaming.
You’ll end up with a crisp, lag-free display on your TV—no more squinting at laptop screens or dealing with blurry resolutions. Audio syncs automatically, and once set up, it’s as simple as pressing a button.
The setup takes longer to explain than it does to execute, and I’ll include troubleshooting for when things go wrong (like that one time my neighbor’s cheap router kept dropping the connection).
Works on Windows, macOS, and even Linux with the right tools, and I’ll cover all the hardware quirks—from older TVs that need HDMI adapters to smart TVs that block certain casting methods. Let’s get your content on that big screen without the headache.
📚 In This Guide
- What you need
- Instructions
- Tips and common mistakes
- Wrapping up and next steps
What you need
- ● Laptop – Any modern laptop (Windows, macOS, or ChromeOS) with built-in Wi-Fi or Bluetooth.
- ● Smart TV or Streaming Device – Smart TV (with HDMI or Wi-Fi/Bluetooth support, like Samsung, LG, or Sony).
- ● OR a streaming device (e.g., Roku, Fire Stick, Apple TV, or Chromecast).
- ● HDMI Cable (if using wired casting) – Standard Type-A to Type-A (6 ft or longer for flexibility).
- ● Stable Wi-Fi Network – 5GHz recommended for lower latency (or Ethernet adapter for wired connections).
- ● HDMI Adapter (for older TVs/laptops) – e.g., USB-C to HDMI or DisplayPort to HDMI.
- ● Third-Party Casting Apps – Like ApowerMirror or LetsView for broader compatibility.
- ● Ethernet Cable – If your Wi-Fi is unreliable for smooth casting.
- ● Power Strip/Extension Cord – To keep devices charged during setup.
Step-by-Step instructions for wireless laptop to TV mirroring
Here's how to get your laptop display playing on your TV without cables—fast and frustration-free.
🔧 Step 1: Verify Compatibility and Power Up
First, confirm both devices support wireless casting. Your laptop needs built-in Miracast or Google Cast (Chrome OS), while your TV should have Wi-Fi Direct, Miracast, or a smart TV platform like Roku, Fire TV, or Android TV. Power on both devices and ensure they're within 30 feet of each other.
Check your TV's input source—select the HDMI ARC or Wi-Fi Direct option if available. If your TV doesn't have native casting, connect a Google Chromecast or Amazon Fire Stick to an HDMI port instead. I always test the connection by playing a short video on the TV first—this confirms the display is ready before casting.
🖥️ Step 2: Enable Wireless Display on Your Laptop
On Windows, press Win + K to open the Connect menu. Select your TV from the list—it should appear with a name like "Living Room TV" or "Miracast Device". If it doesn't show up, click Add a wireless display and wait 10-15 seconds for it to appear. The screen should mirror instantly.
For MacBooks, open System Settings > Displays > AirPlay Display. Select your TV from the list—it may require entering a 4-digit code displayed on the TV screen. If the TV doesn’t appear, ensure both devices are on the same Wi-Fi network (5GHz works best for stability). Real talk: some older TVs need a firmware update to support AirPlay—check the manufacturer’s website if it’s missing.
💻 Step 3: Adjust Display Settings for Best Results
Once connected, right-click the desktop (Windows) or open System Settings > Displays (Mac) to adjust the mirroring settings. Set the resolution to match your TV’s native resolution—1080p for most HDTVs or 4K if your TV and laptop support it. Disable "PC screen only" if you want both displays active.
If the image looks stretched or pixelated, enable "Maintain aspect ratio" in the display settings. For gaming or video playback, lower the refresh rate to 60Hz if you notice lag—some TVs struggle with higher refresh rates over wireless. I promise, a little tweaking here makes a huge difference in smoothness.
⌨️ Step 4: Troubleshoot Common Connection Issues
If the TV doesn’t appear in your laptop’s list, restart both devices and forget the network on your laptop (Windows Settings > Network & Internet > Wi-Fi > Manage known networks). Reconnect to your home Wi-Fi and try again. Some TVs require you to press a source button or select "Wireless Display" from the menu before casting.
For audio issues, ensure your TV’s speakers are turned on and set to the correct input. If sound cuts out, try enabling "Audio over HDMI" in your laptop’s sound settings. Here’s the thing—some laptops default to internal speakers even when casting, so double-check the output device in Sound Settings > Speakers.
💡 Step 5: Optimize for Performance and Battery Life
Wireless casting can drain your laptop’s battery faster, so plug it in if you’re using it for extended periods. Close unnecessary apps to reduce background data usage—streaming video over Miracast uses more bandwidth than wired HDMI. For better performance, lower your laptop’s power plan to "High performance" in Control Panel > Power Options.
If the connection drops frequently, move closer to the router or use a Wi-Fi extender. For gaming, disable mirroring and use Game Mode (Windows) or Low Latency Mode (Mac) to reduce input lag. Save your settings as a profile in your display settings so you don’t have to reconfigure everything next time.
Tips & tricks for perfect wireless laptop to TV mirroring
A few quick tricks that'll make your wireless casting experience smoother than ever—no more pixelated screens or dropped connections.
Distance and Signal Strength: The 30-foot range mentioned in Step 1 is ideal, but walls and interference can cut that in half. If your connection keeps dropping, move closer to the router or use a Wi-Fi extender. I've found that positioning both devices on the same side of the room as the router makes all the difference. Also, try switching to the 5GHz band if your router supports it—it handles wireless display traffic better than 2.4GHz.
Pre-Check Your TV Settings: Before you even start casting, take 30 seconds in Step 1 to test your TV's display. Play a short video or open a photo—if it looks pixelated or has color issues, you'll know you need to adjust your TV's settings before casting. This simple check saves hours of frustration later. I've seen people spend 20 minutes troubleshooting their laptop only to find the TV needed a simple input adjustment.
Audio Troubleshooting Shortcut: If your audio cuts out during casting (Step 4), here's a quick fix: open your laptop's sound settings and select "Speakers" as the output device, then immediately switch back to "HDMI" or "Display Audio." This forces Windows/Mac to recognize the TV's audio input. I've used this trick more times than I can count—it's like a reset button for audio issues.
Performance Mode for Gaming: When you're ready to game in Step 5, disable mirroring and use Game Mode instead. This reduces input lag dramatically. On Windows, go to Settings > Gaming > Game Mode and enable it. For Macs, open System Settings > Displays > Low Latency Mode. Trust me on this—your reaction time will feel like you're playing on a wired connection.
Pro Tips for Cast Laptop To Tv
- A few quick tricks that'll make your wireless casting experience smoother than ever—no more pixelated screens or dropped connections.
- Distance and Signal Strength: The 30-foot range mentioned in Step 1 is ideal, but walls and interference can cut that in half.
- Pre-Check Your TV Settings: Before you even start casting, take 30 seconds in Step 1 to test your TV's display.
Frequently asked questions
Got questions about casting your laptop to your TV? You’re not alone! Here are some of the most common queries—and their quick, easy answers—to help you get the best wireless mirroring experience:
What’s the easiest way to cast my laptop to a TV without cables?
Use built-in tools like Miracast (Windows 10/11) or AirPlay (Mac/iOS). For Android, try Google Cast or Chromecast. If your devices don’t support these, a HDMI adapter (like Chromecast or Roku) is the next best option.
How long does it take to cast my laptop to TV?
Wireless casting usually takes 5–15 seconds if both devices are on the same network and have compatible tech. If it’s slow, check your Wi-Fi signal or restart the devices. Wired HDMI connections are instant but require cables.
Can I cast my laptop to a TV that doesn’t have Wi-Fi?
Yes! Use an HDMI cable (most modern laptops and TVs support it) or a wireless adapter like a Miracast dongle (plugged into the TV’s HDMI port). Some older TVs may need a Chromecast or Fire Stick for wireless casting.
Why won’t my laptop appear on my TV when I try to cast?
Double-check these fixes:
- Same network: Both devices must be on Wi-Fi or Ethernet.
- Miracast/AirPlay enabled: Turn on casting in your laptop’s settings.
- TV compatibility: Some smart TVs need a third-party app (like AllCast for Android).
- Restart: Power-cycle both devices if the issue persists.
Can I cast only specific apps (like Netflix or YouTube) instead of my whole screen?
Most casting tools let you choose between:
- Screen mirroring (entire display)
- App-specific casting (e.g., Chrome, Netflix, or Spotify via Google Cast).
Wrapping up and next steps
Casting your laptop to your TV is easier than ever—no more squinting at small screens or missing out on big moments! Whether you’re using Miracast, Google Cast, or AirPlay, you now have the tools to turn any room into your personal theater.
Just grab your device, follow the simple steps, and enjoy seamless wireless streaming in seconds.
Ready to upgrade your viewing experience? Try it out today! If you’re still unsure about compatibility or troubleshooting, revisit our FAQ section or explore your TV’s manual for extra tips. Happy casting! 🎬✨